Making your own marshmallows not only tastes better, but it also has the benefit of allowing you to control what goes into them. I make my marshmallows without corn syrup, as a healthier option to the bag of corn syrup and preservative-laden puffs at the grocery store.
Whipping up these sweet little clouds will be a fun snow day project that will leave you with a plate of marshmallows worth bragging about (hello, Instagram). Since you are adding an extract, you can make these any flavor you want. You can also shape the marshmallows into cute designs using cookie cutters to make them unique.

How to Make Marshmallows Without Corn Syrup
The two main ingredients that make up marshmallows are sugar and gelatin, which can be found at your grocery store. I'm not talking Jell-O, but plain unflavored powdered gelatin that comes in a small box of envelopes. Most recipes also use corn syrup.
In order to learn how to make marshmallows without corn syrup, we need to find a substitute. You can use honey or pure maple syrup, or a combination of both. I'm using honey for this recipe. It’s also easier if you have a candy thermometer, or a meat thermometer will do in a pinch.
Since these marshmallows don't have any preservatives in them, we are going to make a smaller batch. You can always double the recipe if you have a bigger family or craving. No judgment. These marshmallows last at least three days on the counter in a covered container.

The first step in how to make marshmallows without corn syrup is to combine six tablespoons of water and all of the sugar, salt, and honey in a saucepan, stirring just to combine. Then, let the mixture come to a boil and rise to 238 degrees (this is where the thermometer comes in handy).
This is known as the soft ball stage in candy making. If you don’t have a thermometer, you can do a “soft ball test” to see when the syrup is ready by dropping some hot syrup into cold water and seeing if it forms a soft ball.
If it disintegrates, it’s not hot enough. If a hard ball forms, it’s too hot. Don’t take your eyes off of the sugar syrup once it starts boiling. It reaches temperature pretty quickly, in about a minute or two, and is at risk of boiling over. I had to lift mine off the heat once to keep it from boiling over.
While the mixture is heating and you are keeping a close eye on it, pour the rest of the water and the gelatin into a bowl to let the gelatin bloom for a few minutes. Then, line a pan with parchment paper and dust the parchment with confectioners' sugar. I used an 8x8 glass pan but cut my marshmallows in half because they were thick.
When the mixture on the stove reaches 238 degrees, slowly pour it into the bowl containing water and gelatin while mixing with a hand mixer, stand mixer with a whisk attachment, or by hand with a whisk if you are brave.
Continue mixing until the mixture thickens and resembles marshmallow fluff. Then, add your flavor extract and mix it in. Moving quickly, transfer the fluff into the prepared pan and smooth out the top with an oiled spatula.
The marshmallows will be very sticky at this point; just do the best you can. Anything that has cooled and stuck to the sides of the bowl is lost.

Let your marshmallows set for at least three hours or overnight, then remove from pan and parchment and cut with a knife that has been oiled or dusted in confectioners sugar. Or, use an oiled or sugared cookie cutter to cut your marshmallows into cute shapes.
I like to cut them after a few hours, then let them sit overnight to harden the edges a little. If your marshmallows don’t come out nicely, wet or sugar your hands and pull them apart into chunks and call it rustic.
Dust with more powdered sugar on all sides and voila, you know how to make marshmallows without corn syrup!
Using Your Homemade Marshmallows
Now, what do you do after you've taken your Insta-worthy photos of your creation?
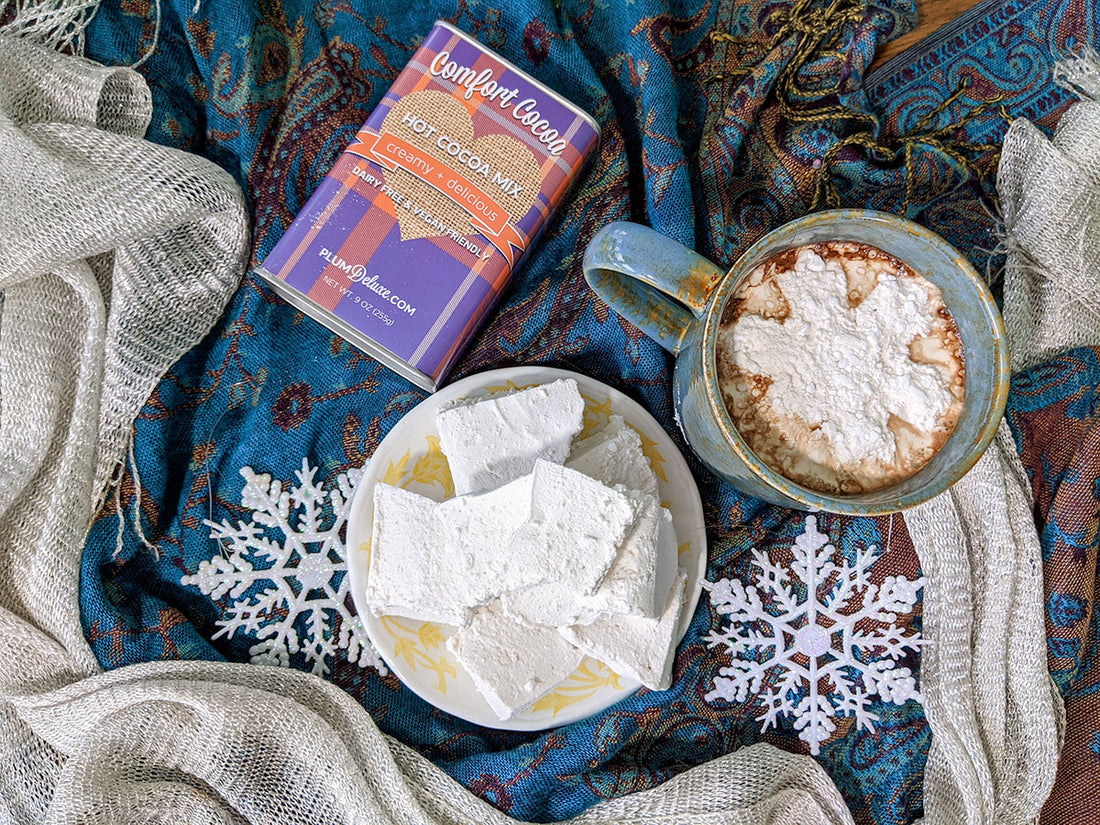
They truly are good enough to eat on their own, a bit addictive, actually. You can also add your homemade marshmallows to a hot cup of cocoa, of course. Our Comfort Cocoa is dairy-free and delicious without being cloyingly sweet.
There are so many ways one can enjoy hot chocolate, and a homemade marshmallow makes all of them better. With some pretty packaging, these marshmallows make wonderful gifts with a tin of cocoa and maybe a new mug.
Hand made, cut out marshmallows also make an eye-catching addition to a hot chocolate charcuterie board (have you seen these?!).

Homemade Marshmallows
Ingredients:
- 1 and 1/2 cups granulated sugar
- 2/3 cup honey
- Pinch of salt
- 3/4 cup cold water, divided
- 2 packets of unflavored gelatin powder
- 1 teaspoon vanilla extract (or flavor of your choosing)
- 1 cup powdered sugar
Directions:
Oil and line a baking dish with parchment paper and dust with powdered sugar.
In a medium saucepan, stir together sugar, honey, salt, and six tablespoons of water.
Turn heat on high and bring to a boil reading 238 Fahrenheit on your thermometer, or test for the soft ball stage.
While the mixture is coming to a boil. Add 6 tablespoons of water and a packet of gelatin to a large bowl. Allow it to sit without stirring for a few minutes for the gelatin to bloom.
When the sugar syrup reaches 238, slowly pour it into the large bowl while whisking. Try not to splash, as the mixture will harden if it hits the cold bowl.
Beat this mixture on medium-high speed until medium-stiff peaks form, about 5-8 minutes. The fluff should hold a trail off the end of your whisk.
Mix in extract.
Transfer fluff to prepared pan and smooth out the top as best you can.
Let marshmallows sit for three hours or overnight.
Using a powdered sugar or oil-coated knife or cookie cutter, cut marshmallows.
Dust all sides with powdered sugar.
Store in an airtight container.
!['Chocoholic' Chocolate Tea Variety Pack [6-Pack Variety of Flavors]](http://www.plumdeluxe.com/cdn/shop/files/2.01-1800x1800-PlumDeluxe-DAJ-274695.jpg?v=1736886689&width=165)
![Patisserie Dessert Tea Variety Pack [6-Pack Variety of Flavors]](http://www.plumdeluxe.com/cdn/shop/files/4.01_-_1800_x_1800_-_Plum_Deluxe_-_DAJ_-_274695.jpg?v=1736886720&width=165)

