Different from a traditional cookie party, where your guests bake and bring their finished product, then swap for others’ baked goods, a group baking party is one where everyone works together to produce a variety of tasty treats. As the host, you’ll provide the recipes and the workspace, and your party attendees will be your baking team.
Believe it or not, this get-together can be done without too much frenzy. With a smart kitchen strategy, a lot can be accomplished in a short amount of time.
The Strategy
To keep the fun level high and the stress level low, choose basic recipes with just a few steps involved. The idea is to provide your guests with a lighthearted opportunity for getting their hands “flour-y” and to participate in the baking process. By providing recipes with simple steps, even non-bakers will find it easy and enjoyable to join in.
Depending on the size of your kitchen and the amount of people you’d like to invite, I recommend choosing three to five recipes, each one using a different baking, or no-bake, technique. For instance, choose a recipe that uses your microwave, another that uses the oven, one for the stovetop, and one that needs only counter space.
Because it can get busy with bodies in the kitchen -- which is part of the fun! -- you’ll want to set up stations. One, two, or three guests can help out at each one. Set up your stations with mixing bowls and utensils and the necessary ingredients for each recipe. Print out and place each recipe at its corresponding station; be sure to print extra copies for your guests to take home with their plate of sweet treats. Have paper plates or special treat boxes ready to pile on the goodies to send home with your guests.

Recipe Selection
For my group baking party, these are the recipes I picked:
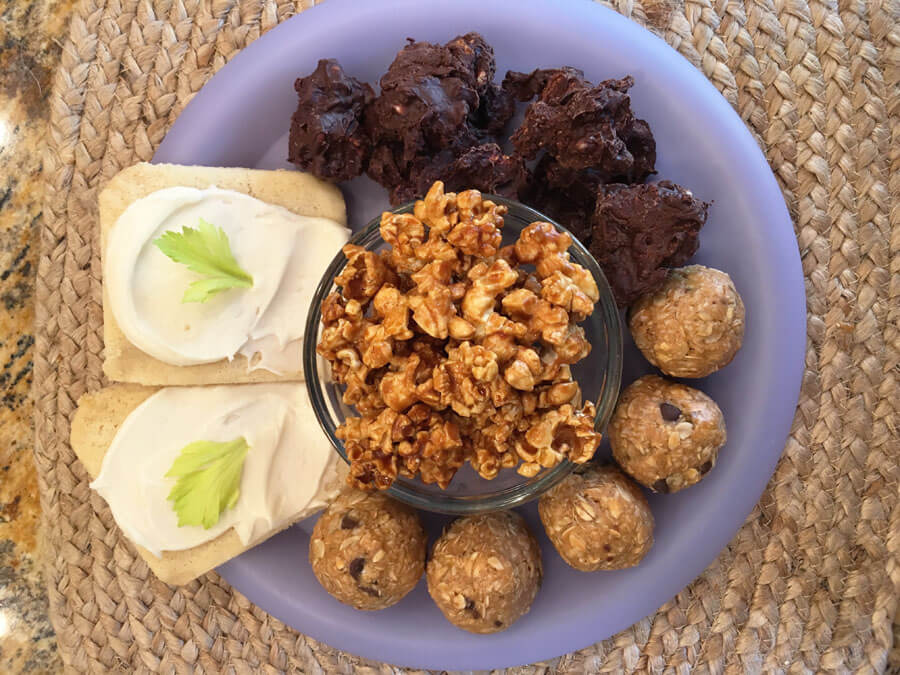
- Sugar Cookies with Vanilla Frosting
- No-Bake Peanut Butter Oatmeal Balls
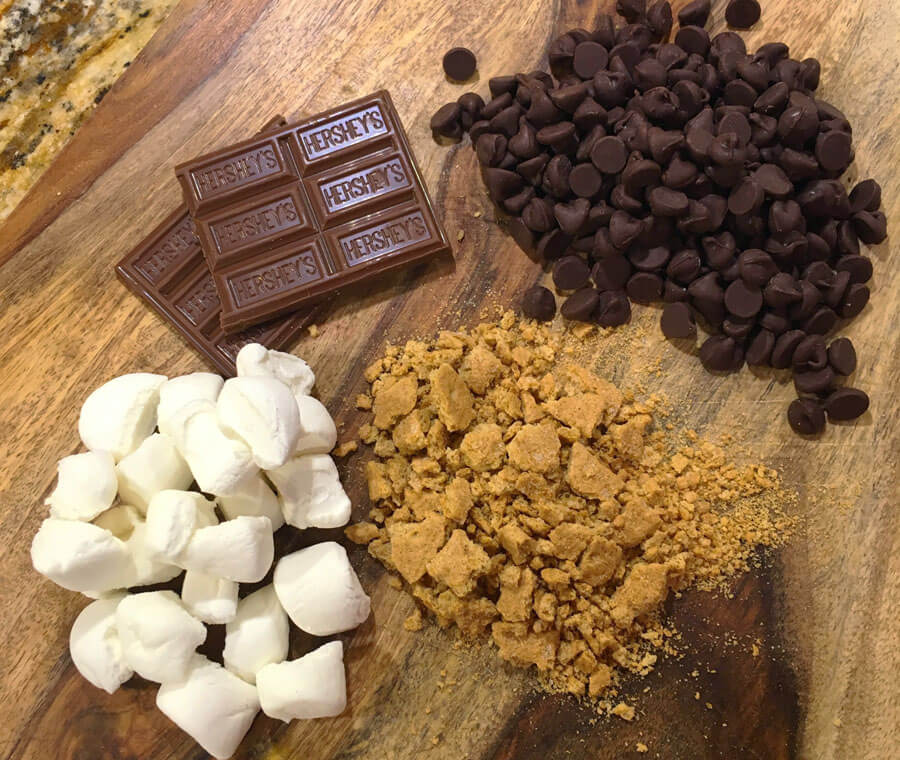
- S’mores Chocolate Bark
- Classic Caramel Corn
I admit, I’m addicted to caramel corn. Buttery, crunchy, sweet, golden baked popcorn -- it’s just too dangerous to leave this pan of deliciousness alone with me. My favorite recipe uses microwave popcorn, which simplifies the process a little bit. (Tip: Didn’t finish your movie theater popcorn? Use the leftovers in this recipe!)

Classic Carmel Corn
Ingredients:
- 2 bags microwave popcorn (3.2 oz bags)
- 1 cup brown sugar
- 1/2 cup corn syrup
- 1/2 cup butter
- 1/2 teaspoon salt
- 1/2 teaspoon baking soda
- 1 teaspoon vanilla extract
Directions:
Preheat oven to 275 degrees. Spray a large, rimmed baking pan or roasting pan with non-stick spray.
Pop popcorn as directed on package.
Mix brown sugar, corn syrup, butter, and salt in a heavy 2-quart saucepan. Stirring often, bring to a boil over medium heat. Remove from heat, then stir in baking soda and vanilla; mix well (the syrup will get frothy).
Pour syrup over warm popcorn, mixing to coat evenly. Spread on baking pan and bake for 45 minutes, stirring every 15 minutes.
Remove from oven. Cool; break apart.
Store in tightly covered container.
Recipe note: Two bags of microwave popcorn equal approximately 16 cups of popped corn.
If you’re making a recipe that has two or more parts, I recommend completing one part of the recipe ahead of time. I did sugar cookies with frosting, but I kept it really simple by buying refrigerated dough and baking them the night before. Then, my guests could whip up the frosting recipe I provided and frost the already-baked cookies.
Hint: A cookie-frosting station is one of the least intimidating for your “non-baker” friends. Making the frosting takes just a couple of minutes; after a quick chill in the fridge, it’s ready to go. To make it even easier, mix up the frosting ahead of time, too. Truly, even the greenest of bakers will feel like they can participate here.

Party Day!
There will be a lot of sugar flying around this kitchen, so you might consider putting out some light and savory snacks for your guests, such as a veggie plate with dip, mixed nuts, or crackers and cheese. Break out some pretty teacups and serve your guests your favorite tea. Or, try a tea cocktail, like one of these Arnold Palmers with a twist.
As everyone arrives, provide a quick introduction on how the group baking party will work. Have guests choose which recipe they’d like to make and show them to their stations. Be sure they have their ingredients, measuring cups, and mixing bowls as needed.
During the party, when you have a free moment, be sure to take some pictures that you can share with everyone later. Consider making this an annual event to gather your friends for a fun, creative, and delicious way to spend time together!
!['Chocoholic' Chocolate Tea Variety Pack [6-Pack Variety of Flavors]](http://www.plumdeluxe.com/cdn/shop/files/2.01-1800x1800-PlumDeluxe-DAJ-274695.jpg?v=1736886689&width=165)
![Patisserie Dessert Tea Variety Pack [6-Pack Variety of Flavors]](http://www.plumdeluxe.com/cdn/shop/files/4.01_-_1800_x_1800_-_Plum_Deluxe_-_DAJ_-_274695.jpg?v=1736886720&width=165)

